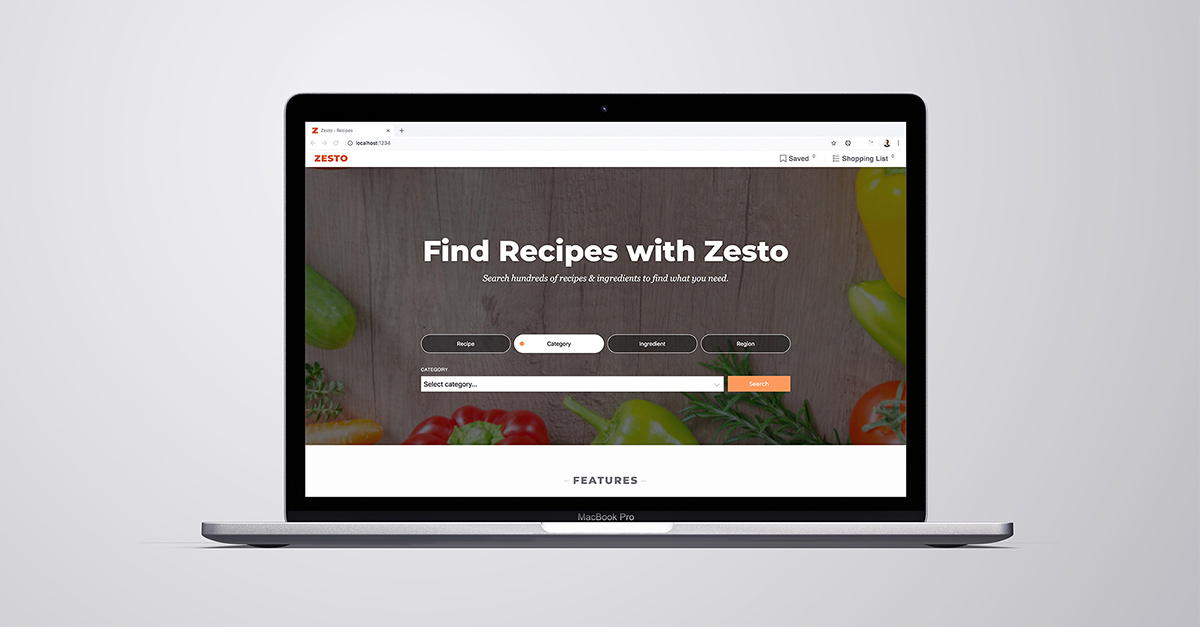
Overview
Zesto is a web application that I built with React and tools that exist within the surrounding React ecosystem. It sources data from a third-party API called The MealDB. The application queries a collection of recipes and ingredients based on user input. Users are able to save recipes as a whole, as well as adding individual ingredients to a Shopping List feature. This project was the first React application that I built from the ground up, so I was presented with some unique challenges and amazing learning opportunities along the way.
Styling Solutions
For this project, I used the CSS pre-processor Sass. Sass is a great way to extend the capabilities of traditional CSS by introducing variables, nested rules, and more. Sass works by compiling .scss files to .css files to be processed by the browser. In addition to using Sass, I also inacted the BEM Architecture naming convention for all of my element class names and their corresponding selectors. BEM stands for:
- Block (a top-level element, containing several child elements).
- Element (the individual children elements within the block).
- Modifier (variable states that modify the behavior or appearance of an element).
This methodology forced me to think about the relationships between the elements on the page. It also made it easier to avoid overlapping selector names while managing scope within a single stylesheet document. As more locally-scoped styling solutions continue to emerge (such as CSS Modules, CSS-in-JS, etc.) this pattern of writing code won’t be completely necessary. However, for teams who continue to work on robust ‘styles.css’ type documents, I believe it will continue to promote cohesion amongst developers.
Notable Dependencies
One great thing about working with React is the abundance of amazing open-source tools that exist within the React community. While overuse of third-party solutions can cause its own myriad of problems, using the right npm packages for the job is essential for teams who don’t have the time or ability to create a solution themselves. In that regard, I used a few dependencies that enhanced the application from a performance and user experience perspective.
The first of these was Downshift, which allowed me to create an accessible autocomplete solution for the primary search input. In order to make it work for my own solution, I had to learn about the React render props pattern.
Another helpful component was the Lazy Load Image component. Because the API that I was using for my application did not accomodate for any image optimizations, performance at first was very poor. By allowing the images to load “lazily” (or, waiting until the image is in the viewport to load), it dramatically improved load times. Lazy loading will soon be implemented natively by browsers, but until then, solutions such as this will have to suffice.
Putting It All Together
Because of the modular format that React projects are structured upon (or any other project that uses ES6 modules), the code must be transformed in a way for browsers to understand it. Enter the world of module bundlers. Arguably the most popular module bunder that exists at the time of writing this is webpack, which normally comes packaged with the create-react-app starter package.
For this project, I wanted to start from scratch without having to rely on create-react-app. Instead of using webpack, I opted for Parcel, which is a zero-config module bundler. This allowed me to go straight into creating my React application without having to set-up a webpack config.
Once the application was ready to go to production, I used the build scripts included with Parcel which generated a static distribution folder. To deploy said folder without a server, I used Netlify CDN, which was as easy as dragging and dropping my folder into the UI once I had a few details straightened out.
